DIY: Clay Keychains + Ring Dishes

I started out thinking this post was solely going to be a DIY for clay keychains, but when I made them, I started to doubt them because the first baked clay key chain I broke. You always hear those horror stories of people trying to recreate recipes or DIY’s they saw on Pinterest, only to make something that looks nothing like the pretty pictures they saw on Pinterest. Luckily, that’s never happened to me, but I seriously started thinking this was going to be it, which is why I quickly found another use for the clay I had purchased. In the end, the key chains turned out great and I created another great project to share with you! I figured out the do’s and don’t for these projects, but trust me they are relatively easy and you’ll pat yourself on the back for all of your handy work.
I photographed the step-by-step process for the clay keychains [ originally created by Homey! Oh My who has a great tutorial for reference ], but was in a little bit of a hurry making the gold-rimmed clay jewelry dishes since they were Christmas presents, so bare with me on the text directions. Promise, they make complete sense! Disclaimer, while both these DIY’s are not extremely challenging, they are a slightly time-intensive since you have to wait for things to dry and/or cool. The jewelry dishes, for example, were competed over 3 days. One day each to bake, paint and gloss glaze. Also, you may get addicted to clay projects.
DIY MONOGRAM CLAY KEYCHAINS
Supplies:
1. Clay [ in whatever color of your choice ]
2. Rolling Pin
3. Parchment Paper
4. Clay Cutters
5. Clay Embossing Kit
6. Toothpick
7. Jump Rings
8. Keyrings
9. Two Needle-Nose Pliers
Instructions:
Cover cutting board with parchment paper. It’s not good to use something you’ll be using with food later. Roll a piece of clay into a ball about 1-inch in diameter.
Use rolling pin to flatten ball to about ¼ inch.
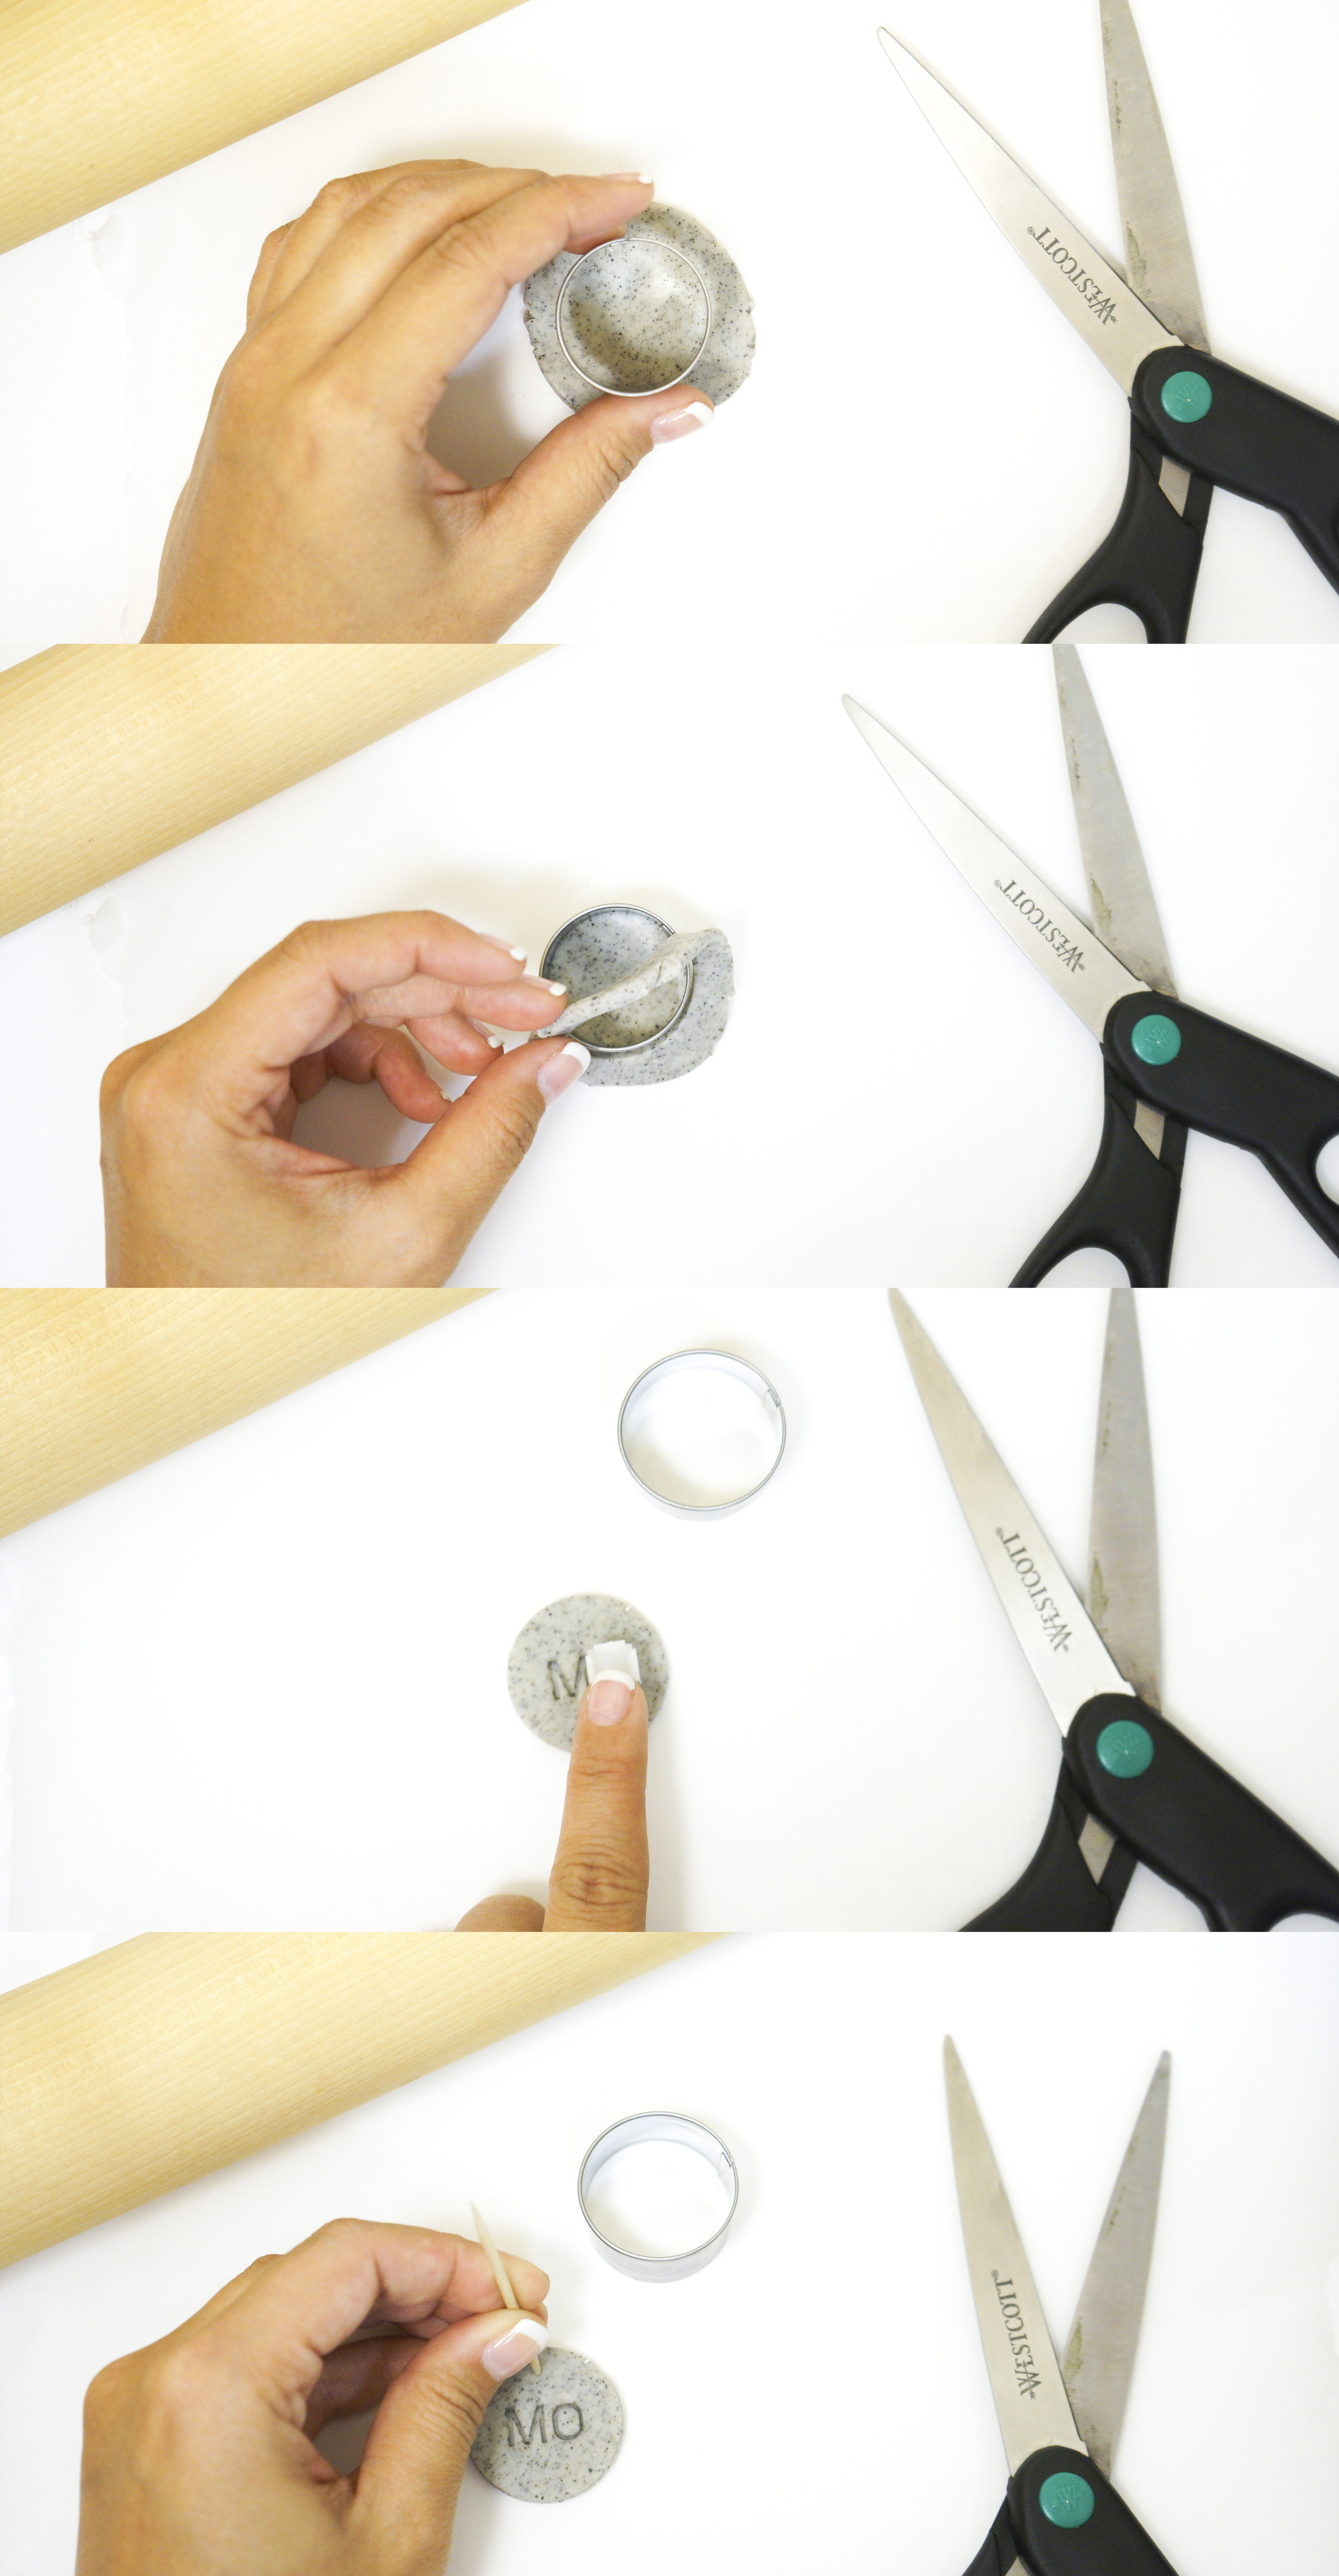
Cut out the shape you’d like from the clay, removing any excess clay.
Emboss clay with letters/symbols of your choice. I didn’t use the stamping device included in the clay embossing kit. I found the letters to be too far apart and opted for eye-ballling it instead.
Using a toothpick, poke a hole near the top of the shape, accounting for how large your jump rings are. Note: I poked the hole a little too far from the edge, and had to buy large jump rings to make up the distance.
Cut the parchment paper around the clay and transfer to a baking sheet. I wouldn’t recommend trying to peel the clay off the paper and transfering with your fingers. There’s just so many ways you can ruin it, trust me.
Bake for 40 at 230° F or until clay is hardened, or stick to the instructions on the clay packaging. I think this is the main reason I broke a few pieces. Do NOT over-bake.
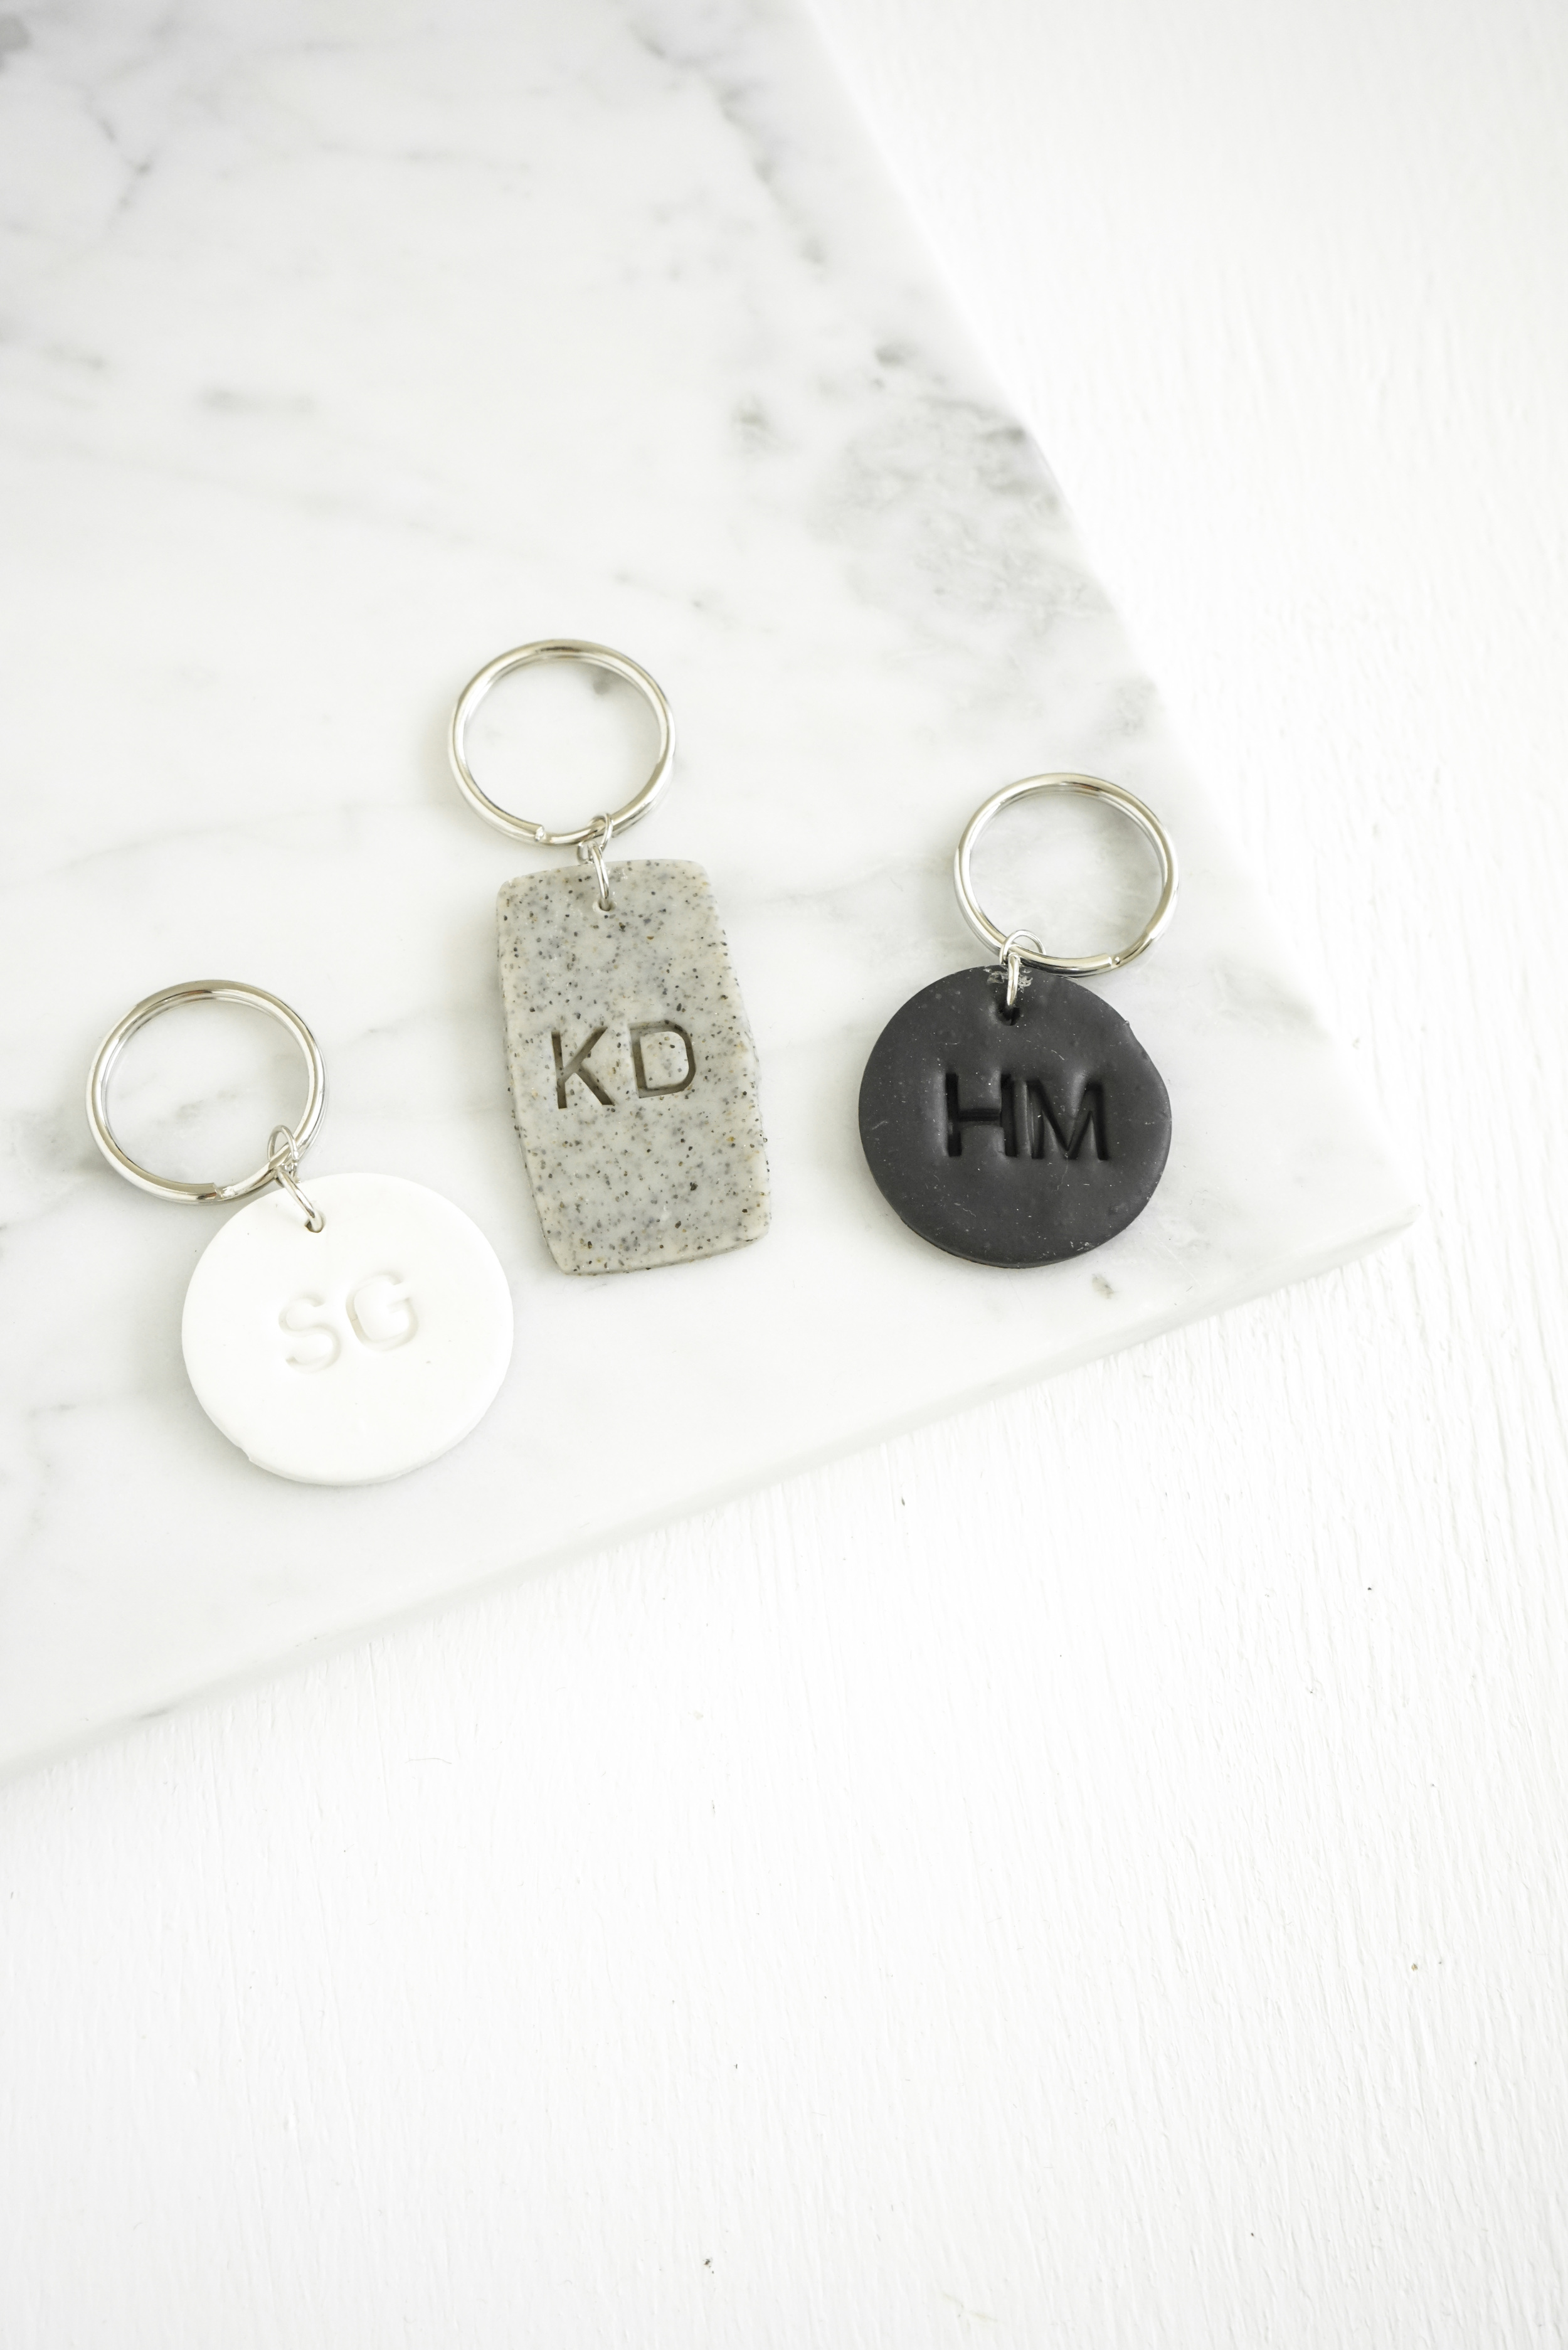
After clay has cooled, bend a jump ring open and slide through hole in clay. Before closing the jump ring, slide a second one on.
Slide second jump ring onto a keyring and voila!

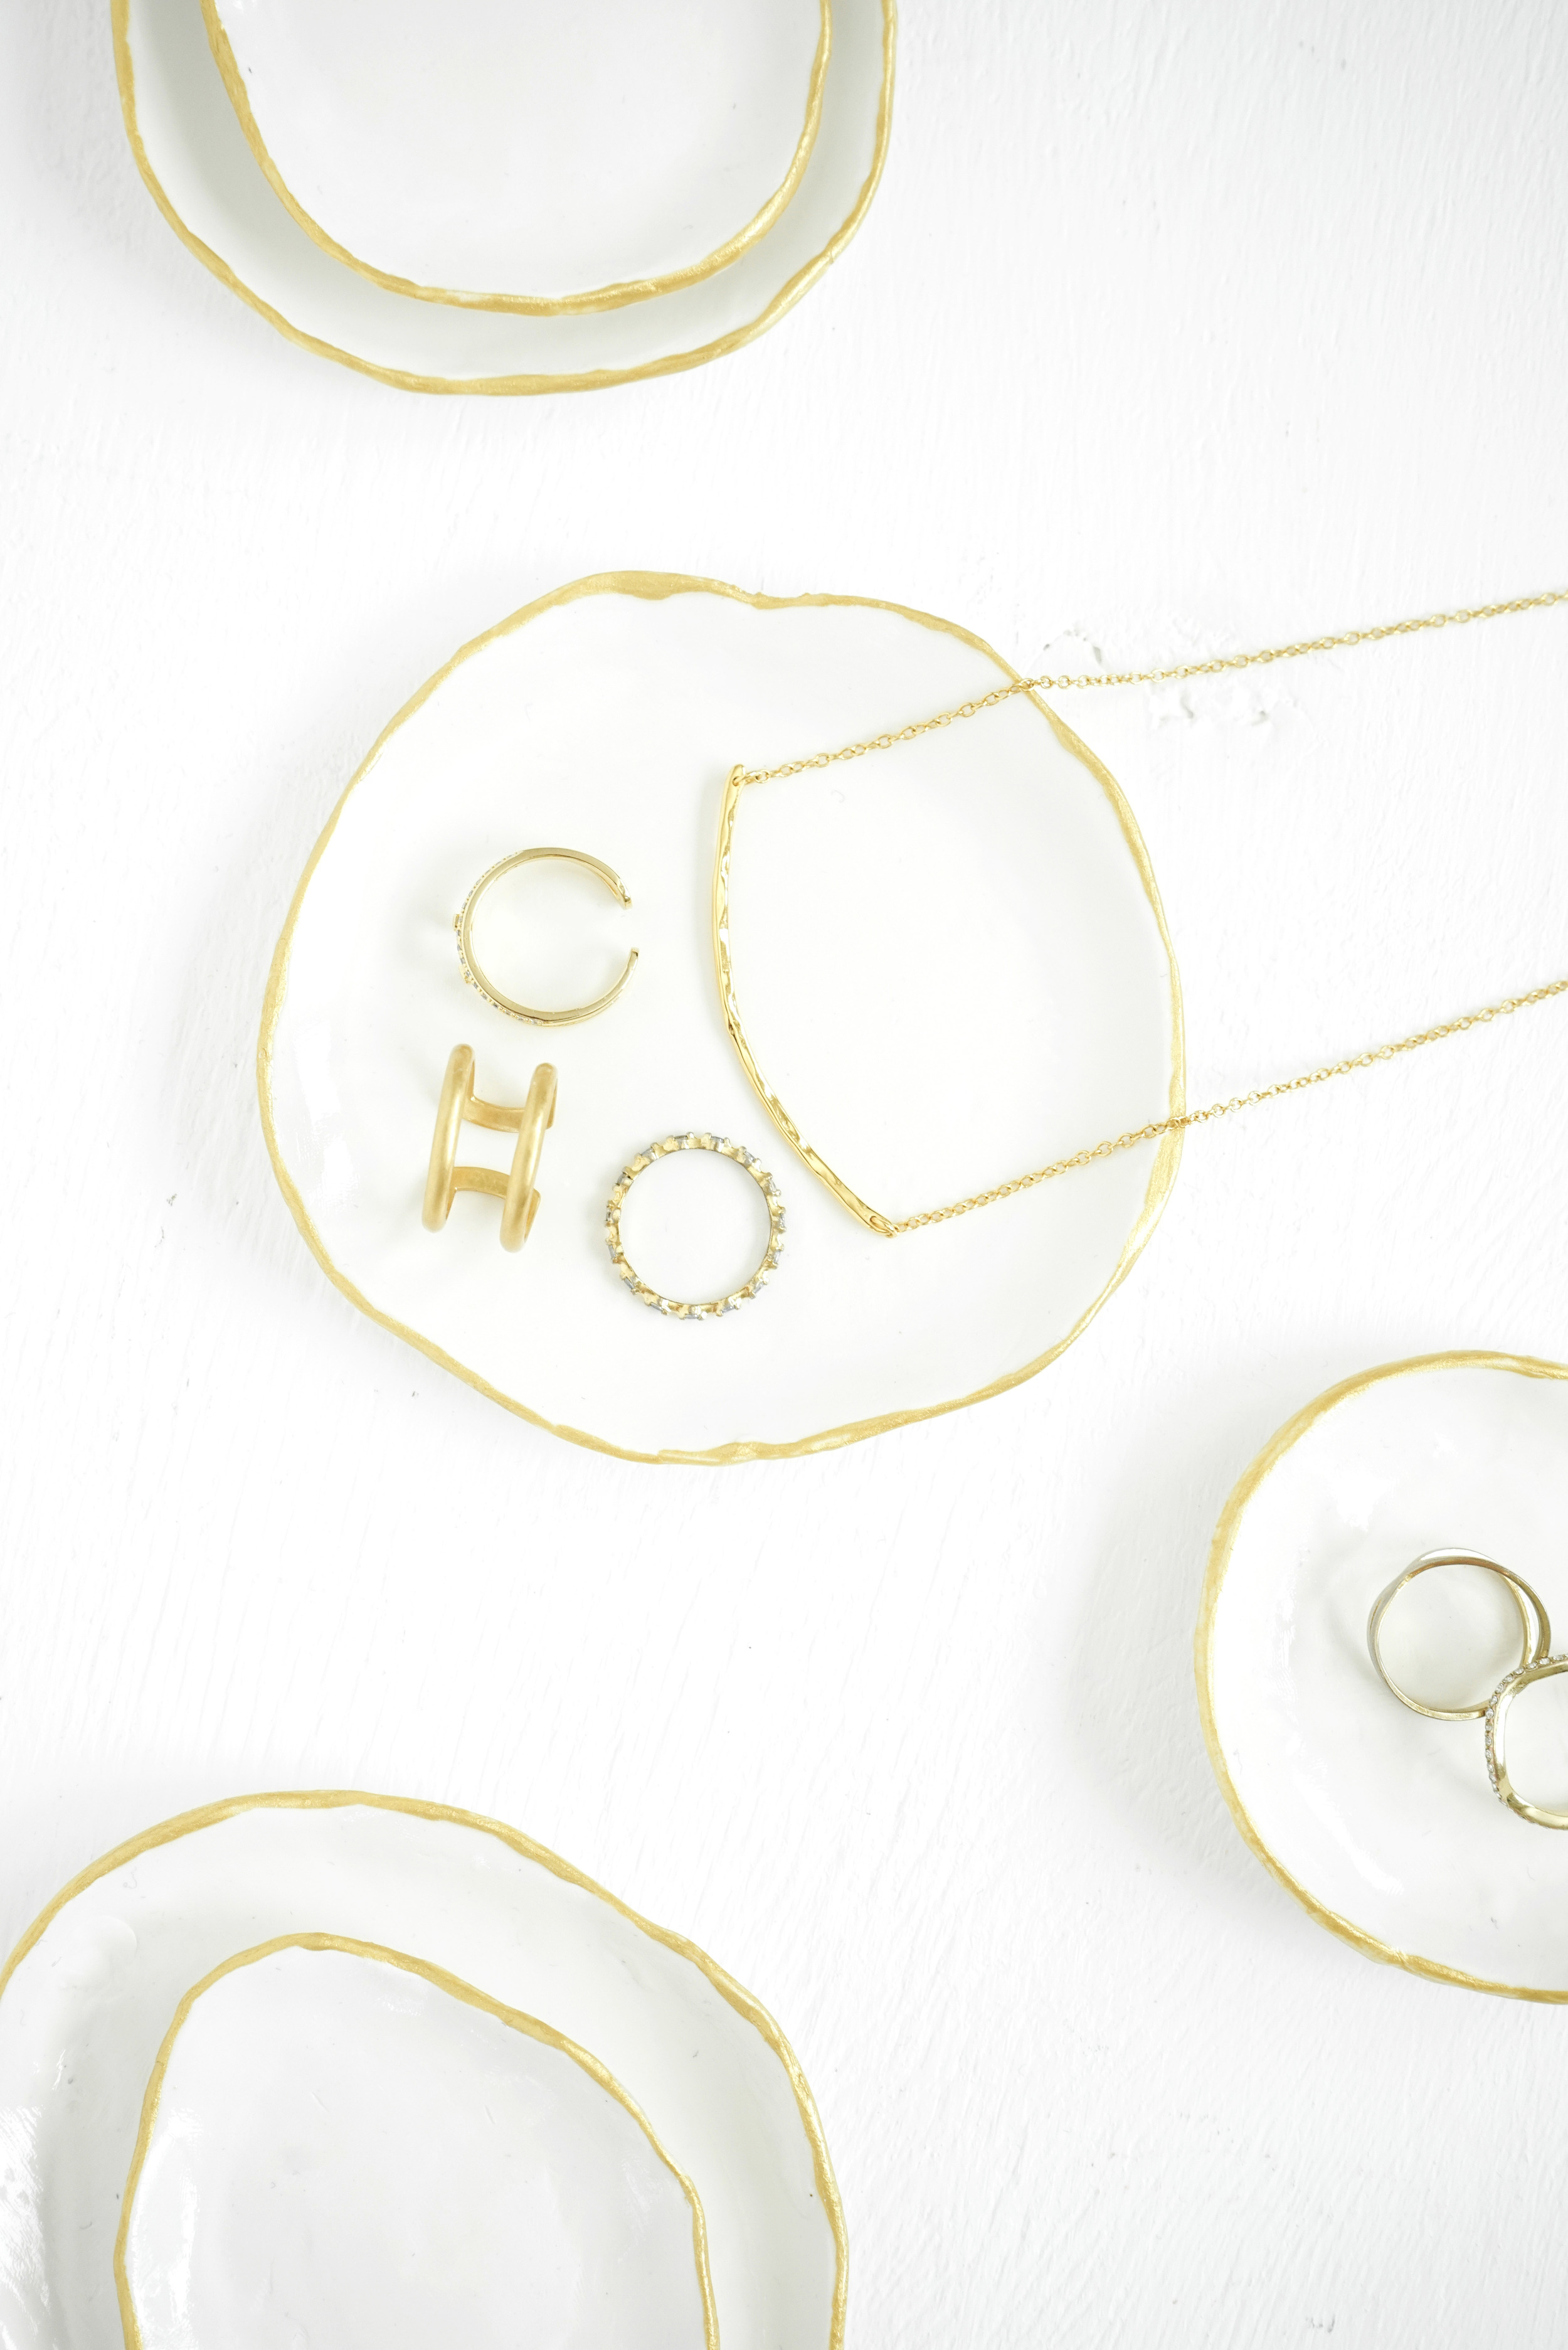
DIY GOLD-RIMMED CLAY RING DISHES
I really wanted to create organic looking clay jewlery trays, so I didn’t really follow any specific tutorial. I’ve seen a bunch in stores and online so I had an idea of what I wanted them to turn out like.
Supplies:
1. White clay [ I like sculpey]
2. Rolling Pin
3. Parchment Paper
4. Metallic Gold Kraft Paint
5. Small Flat Paint brush
6. Gloss Glaze
7. Paper Plate
Instructions:
Section off about a good amount of clay, about 3x as much as you would for a keychain. This might take a few tries to figure out how much you need. It also varies depending on the size of the dish you are making.
Roll clay into as perfect of a ball that you can.
Use rolling pin to evenly flatten the clay on parchment paper. It should be pretty circular if rolled evenly to a little over ¼” thick.
Use your fingers to form clay into a dish shape. This should look organic and not-perfect. Make the sides as high and as deep as you’d like.
Bake according to the clay packaging.
Pour a dollop of gold paint onto the paper plate. Use small flat paint brush to paint the rim of the dish. Again, this doesn’t have to be perfect.
Once dry, paint the gloss glaze on to finish the dishes. Allow to dry fully.
Hope you have fun playing with clay as much as I did. It was like reverting back to play-doh days, but getting a really pretty end product.
Yours Truly // Shannon